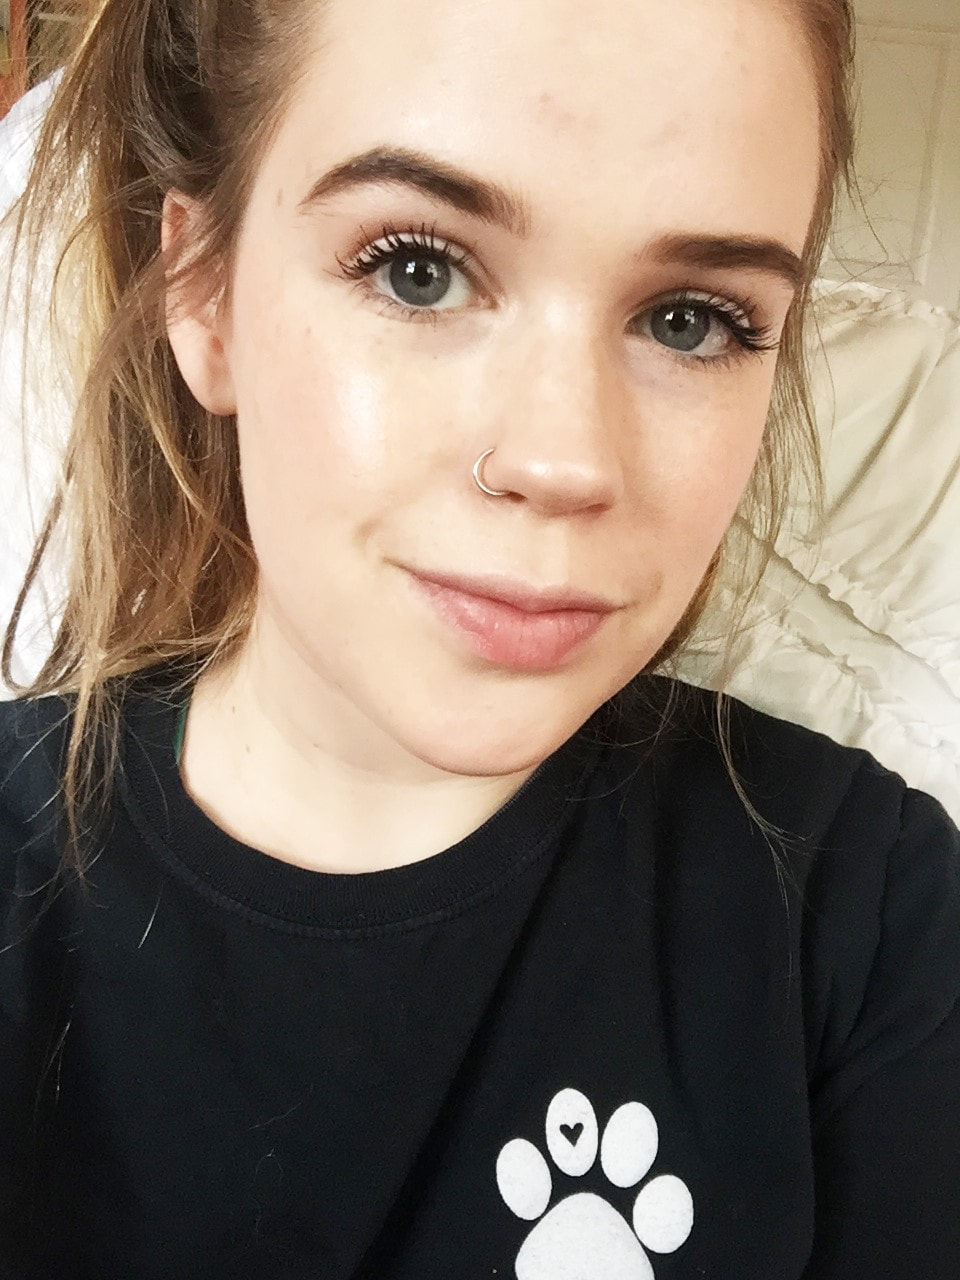
Grins & Needles
  • Blog
  • Topics
    • Fashion
    • Beauty
    • Hobbies
    • Life
    • Miscellaneous
  • About
  • Portfolio
  • Store
  • Order

"Barely There" Makeup Tutorial

6/15/2018

0 Comments


Hello friends!
I'm back this week with a new blog post. But this time, we'll take a break from the life updates (oops, got a bit carried away lately).

   For this week's post, I asked you guys on instagram if you'd like to see a product list and/or tutorial on my dewy, fresh-faced look. And a lot of you guys responded and said yes! So that's what I'm doing for you all today. This look is ideal for pretty much anything, but the dewy aspect of it is perfect for Summertime. Also the fact that this look isn't cakey in the slightest. I feel like cakey makeup is too difficult to manage during the hotter months.

   I do have to say, before we get started, that the quality of the photos in this post is going to be poor compared to my usual blog posts. I still don't have a camera yet, but I'm still workin' on that. So for this post I actually used my iPod to take photos. So that is why these makeup photos aren't going to look so good. Anyways, let's just jump on in!
   
​

Stage 1: Prep

   The first part of our fresh and dewy look is the moisture. Moisture is needed all year round, whether the months are cold or hot. So I like to go in with my Mario Badescu facial spray and mist it all on my face (post-wash). This stuff smells and feels super soothing. I allow that to set into my skin before adding my e.l.f. Daily Hydration Moisturizer. Not only does this add two levels of hydration to my face, but I also use that e.l.f. moisturizer as a primer. 
Picture

Stage 2: Process

   So the first thing I do, after applying my moisturizer as a primer, is I delve into my L.A. Girl Brow Kit (in "medium") and use the lightest brown shade to fill in the natural shape of my eye brows. Normally I'd also use the darker brown on the tail of my brow, but for a "barely there" kind of look, we want to be as simple as possible.
Picture
Picture
   I apologize if my messy brow hairs offend you.

​   Next up, I use my Loreal Paris Infallible Pro-Glow matte foundation (in the shade 201) and carve out around my eyebrows to clean up any excess powder. Sometimes I go ahead and add some of the wax into my eyebrows as well (from that same L.A. Girl brow kit), but usually I just skip that step. Depends on the day, really.
Picture
Picture
   Next I go in with my L.A. Girl Pro Conceal HD concealer and apply that on the eyes (like an eye primer), under my eyes (in that triangle formation where it dips down by the nose), on my nose, in my "T" zone, above the cupid's bow, and on the chin. Basically the spots that would later on be highlighted! This stuff is super cheap and brightens those areas right up.

   I then use my Covergirl cgsmoothers BB cream as a replacement for a standard foundation. So, basically, after I apply that concealer and let it set in, I apply this BB cream! It's really sheer, so this might not be ideal for people with "problem skin". I like it because, not only does it let me freckles shine through, but it also has SPF 21! So it's considered a "tinted moisturizer" and a "sunscreen". Perfect for those summer days, right? I dab in the product using any ol' beauty sponge to avoid streakiness.
Picture
   Next I use my Morphe ES2 in "Crystal" to highlight my inner eye corners and my brow bone. I usually like to highlight my cupid's bow, chin, tip of my nose, bridge of my nose, above my brows, and on my cheek bones with this shade. But since I'll be using a liquid highlight this time, we can skip that step.
Picture
   Similar to my Everyday Makeup Tutorial (With a Twist), I use two staple shades from my Morphe 35B Bronzed Mocha palette. The first is the cream shade in the top left (the one that has blatantly hit pan). I use this cream shade on my lid because it's just a bit lighter than my actual skin tone, so I feel like it's great for brightening. The other shade I use is the light pink shade in the center of the top row. This shade is perfect in the crease for this look because it's just a bit darker than my skin tone, so it adds a bit of depth compared to the cream on the lid. This creates a super subtle contoured look.
Picture
Picture
   Next comes the contouring. I usually mix the two shades on the left side of the e.l.f contour palette just because they're not too warm or dark for my skin. I then lightly contour along my jawline, under my cheek bones, along the temples, and along the forehead.
Picture
Picture
   Next comes the highlight. Before I do this, though, I like to apply my e.l.f. H.D. Setting Powder to any spots on my face that tend to crease (like between my brows and under my eyes). ANYWAYS, for the highlight, I've been using the NYX Born To Glow! Liquid Illuminator. I usually squeeze a bit of it out onto the back of my hand and dab the product into my skin on my cheek bones, chin, tip of the nose, bridge of the nose, and above the brows. This makes my skin look super duper glowy. Again, perfect for summer!
Picture
Picture
   Sometimes, I even dab a bit on the  eye lid--and even the lips--if I'm feeling extra wild that day.
Picture
Picture
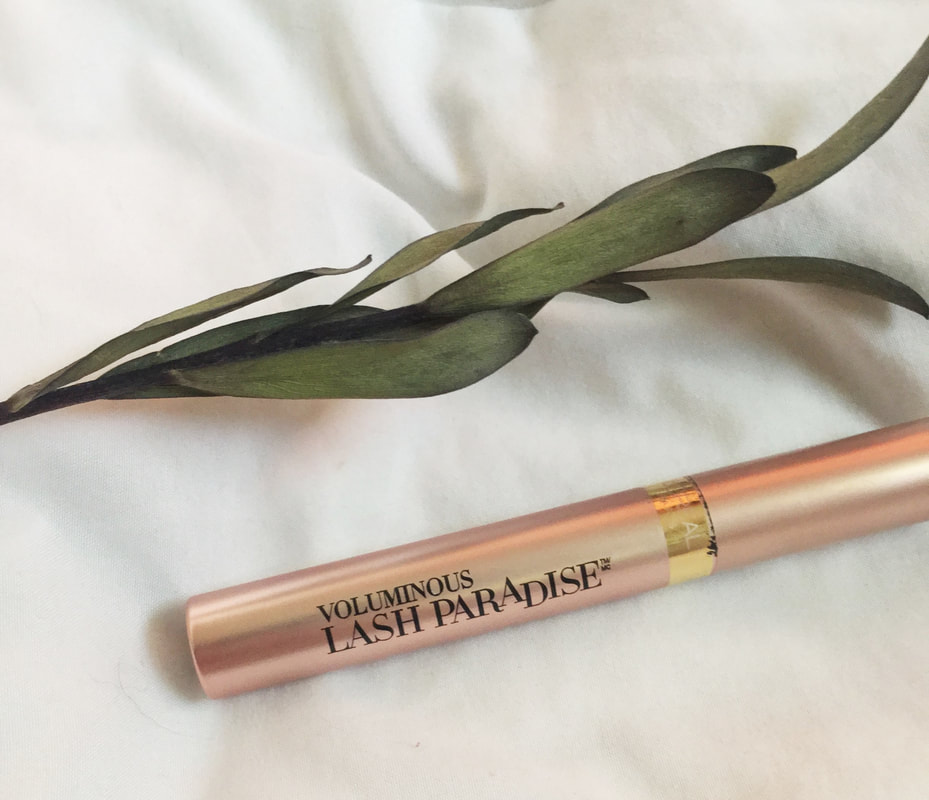
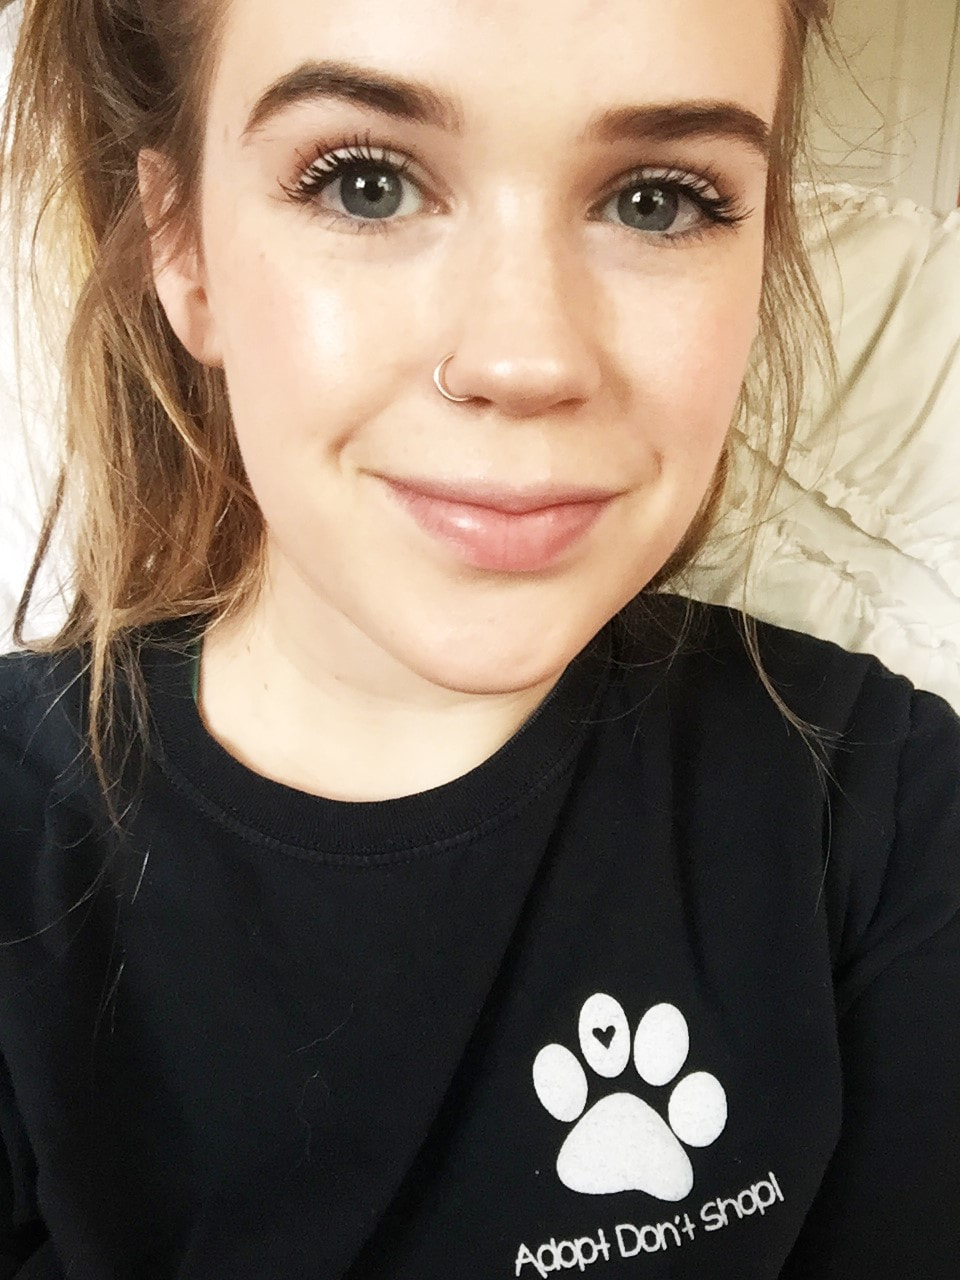
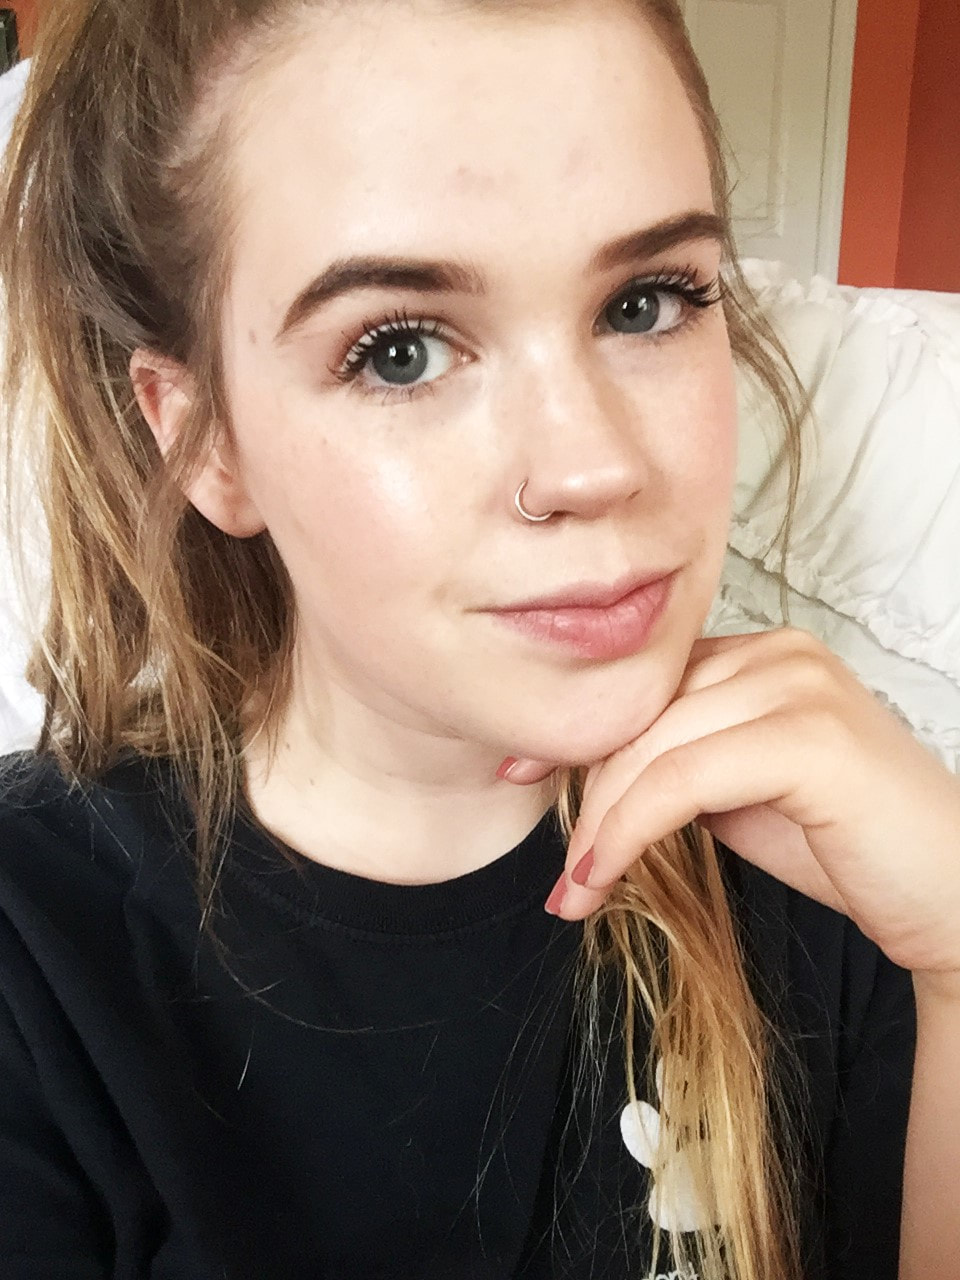
   Next, I curl my lashes using a standard lash curler. I then apply my Loreal Voluminous Lash Paradise mascara.
Picture

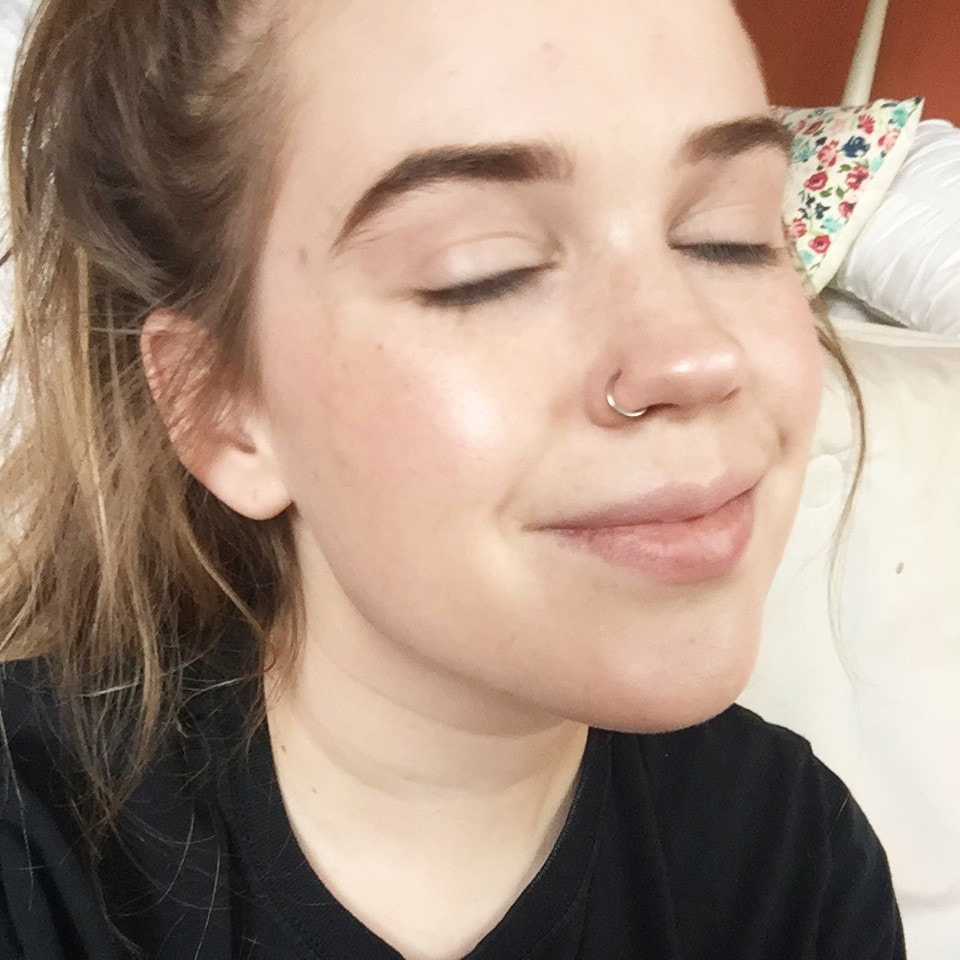
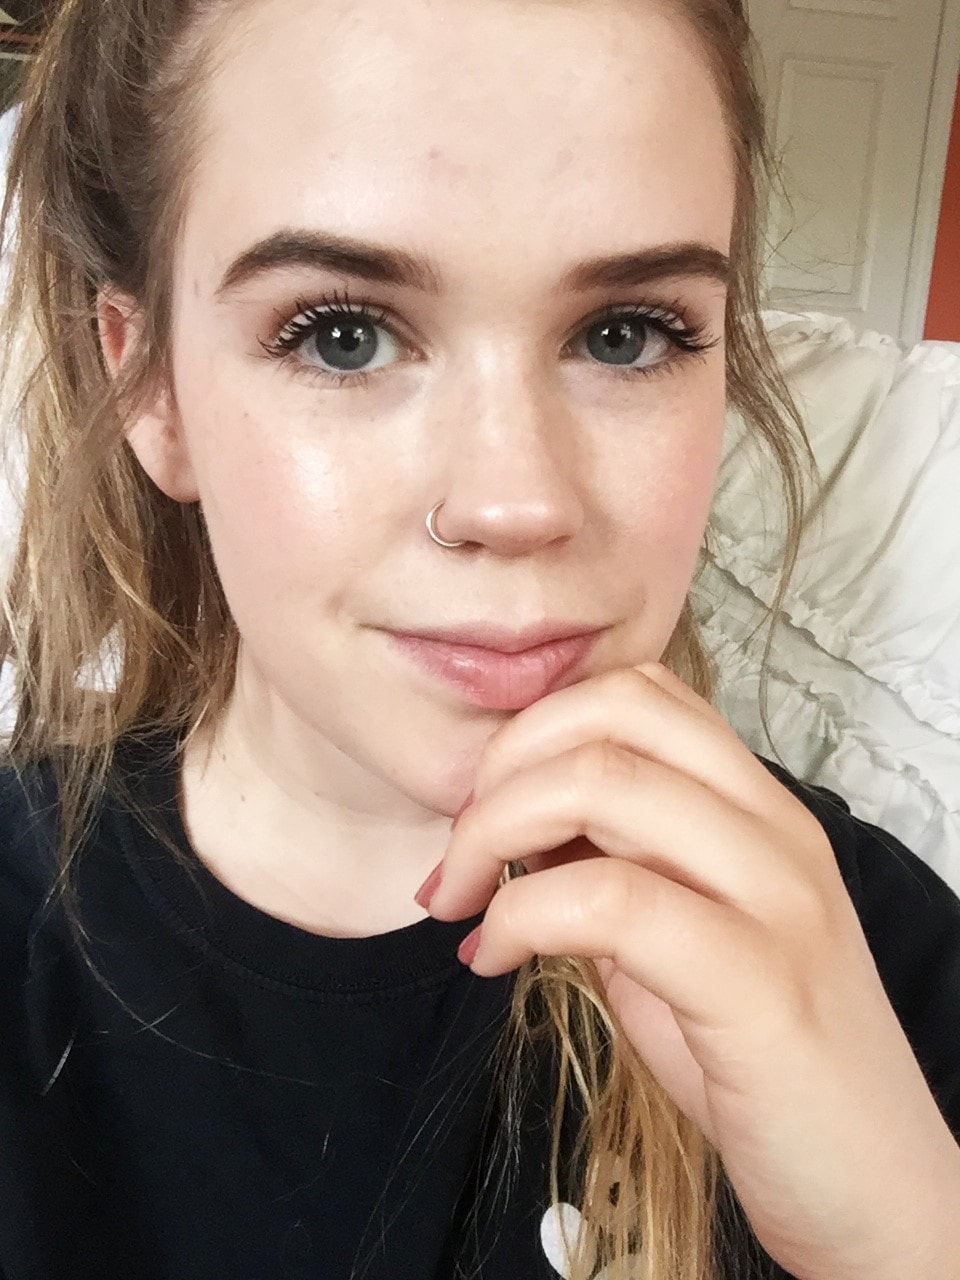
Stage 3: Set & Reveal

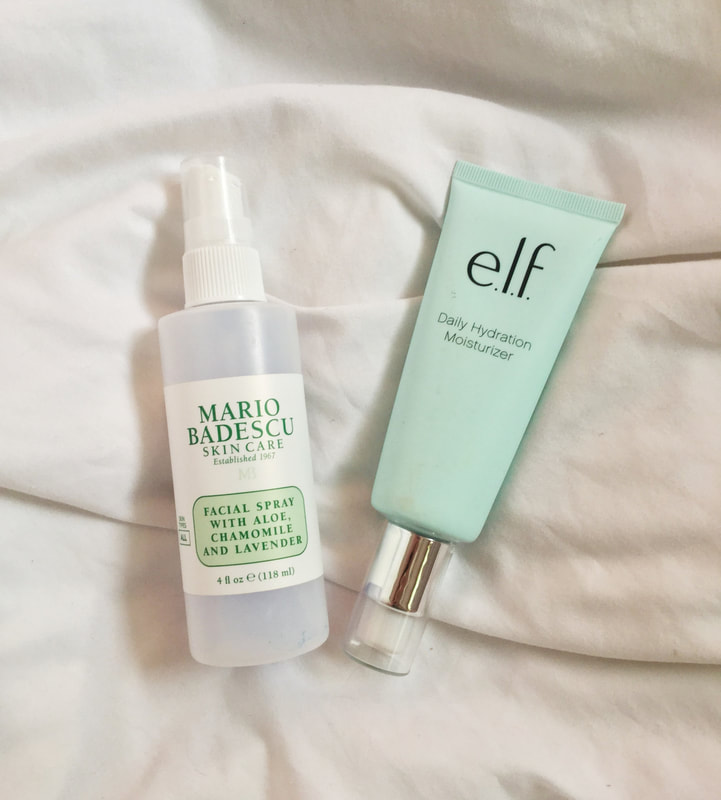
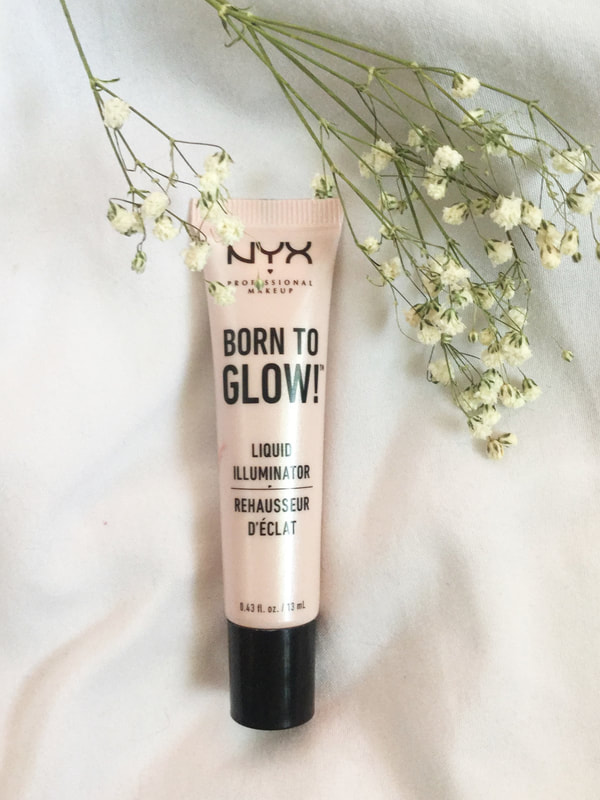
   Finally, I spritz on some e.l.f. Dewy Setting Mist to maintain that dewy, fresh look.
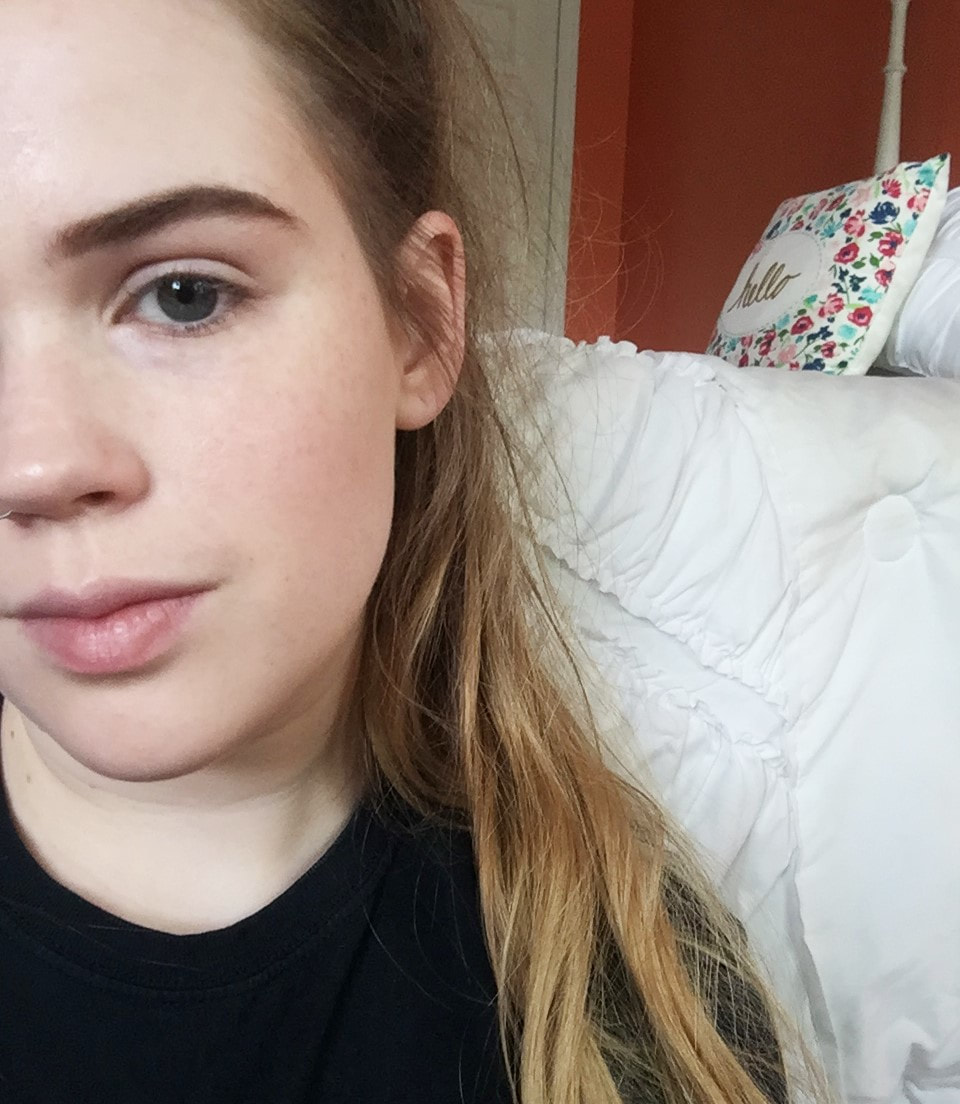
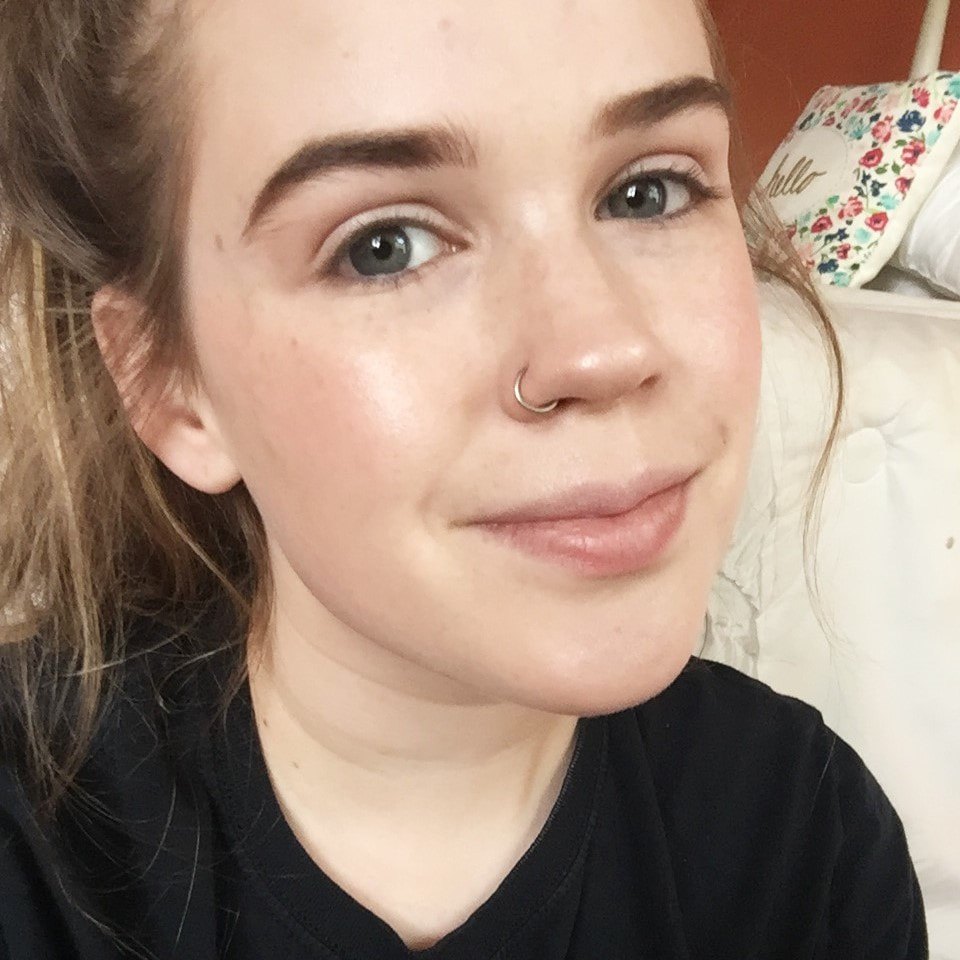
Picture
   And it's done!
Picture
Picture
Picture
Picture
Picture

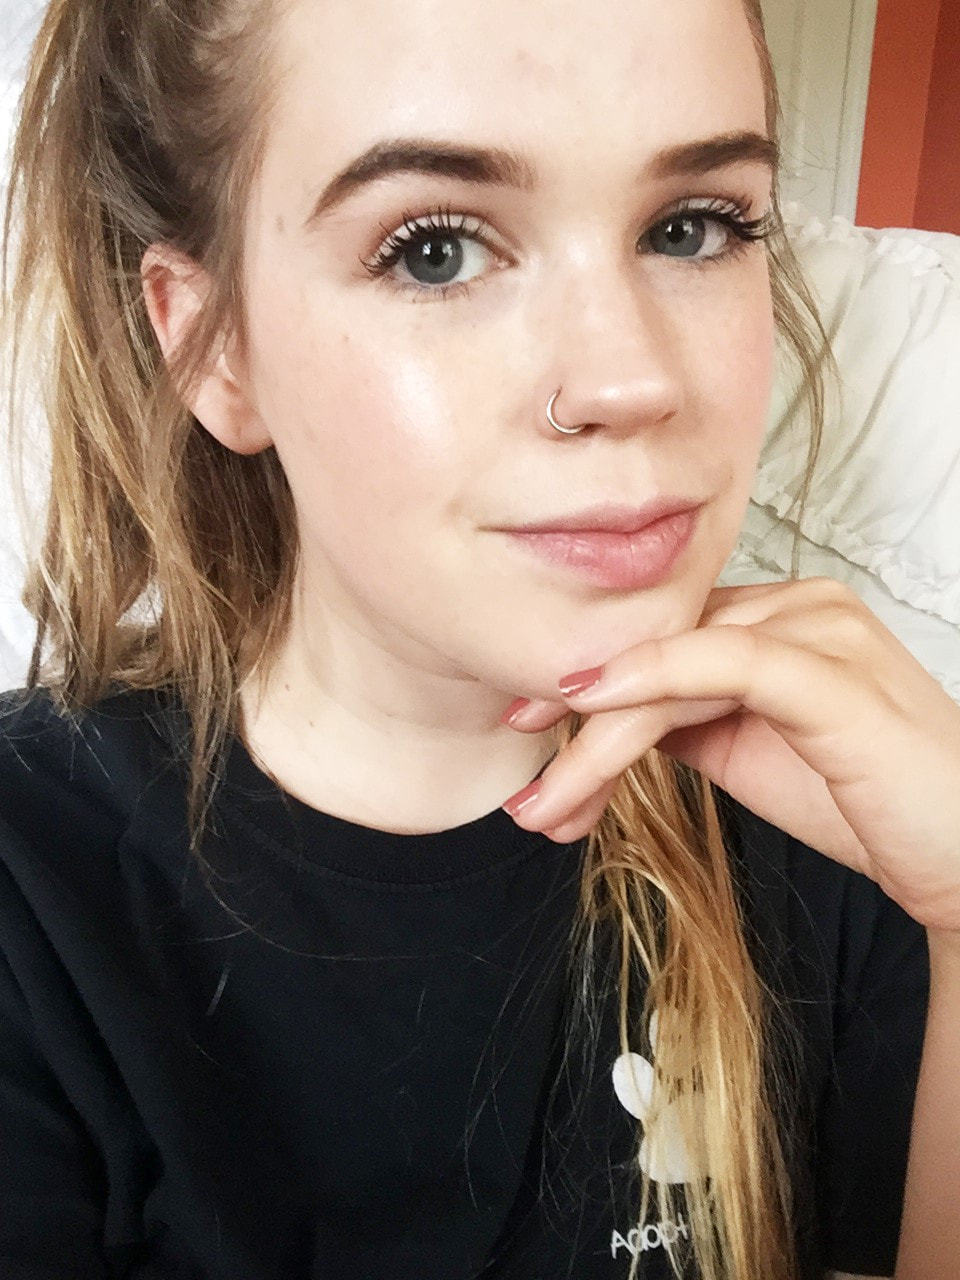
Thank you all for checking in! What sorts of products are you using during the warmer months?

Keep on grinning!

Lydia

0 Comments

Your comment will be posted after it is approved.


Leave a Reply.

    Picture

    Hello friends!

    I'm a 26-year old graphic designer and lifestyle blogger.
    ---
    I hope, by reading my work, you feel inspired to create and to love yourself.
    ​
    ​With love,
    Picture
    Picture
    Picture
Picture
Copyright © 2015 Grins & Needles
Font via Tup Wanders
  • Blog
  • Topics
    • Fashion
    • Beauty
    • Hobbies
    • Life
    • Miscellaneous
  • About
  • Portfolio
  • Store
  • Order