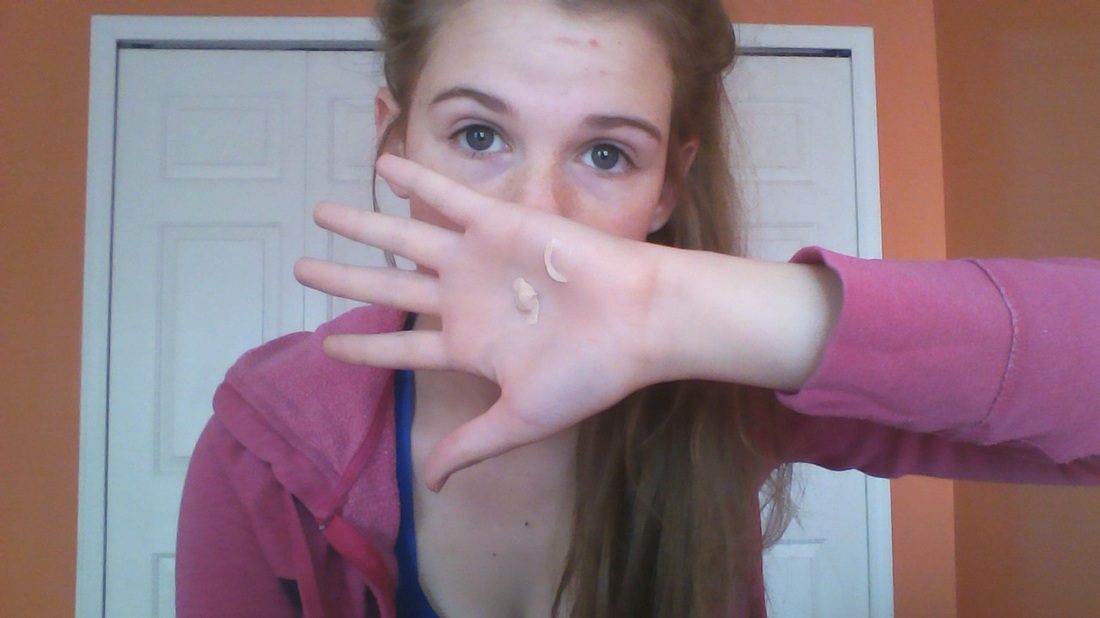
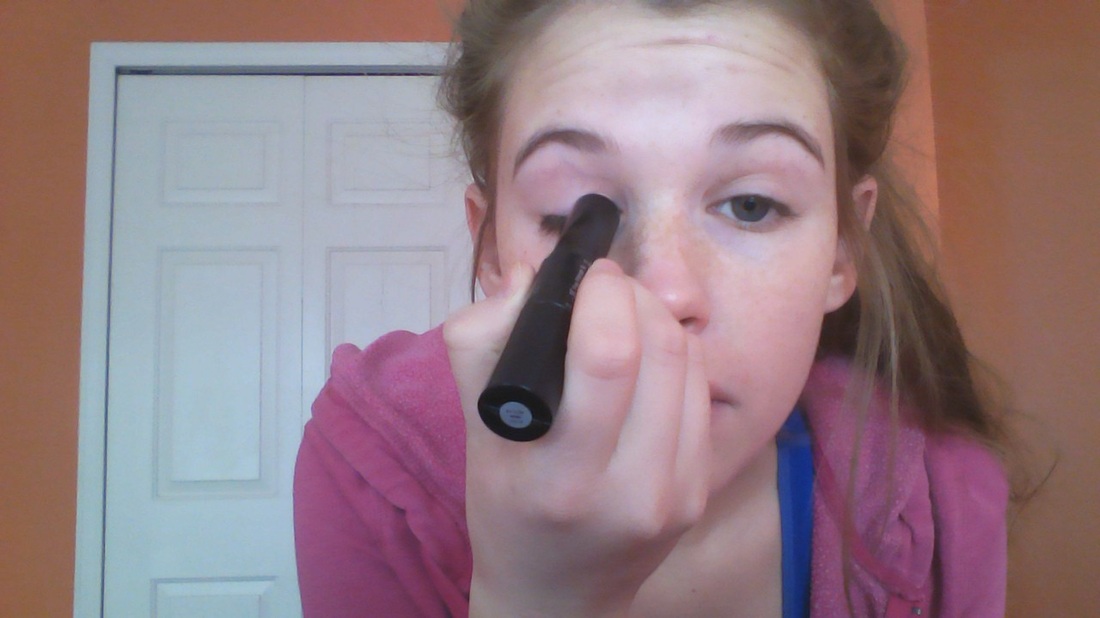
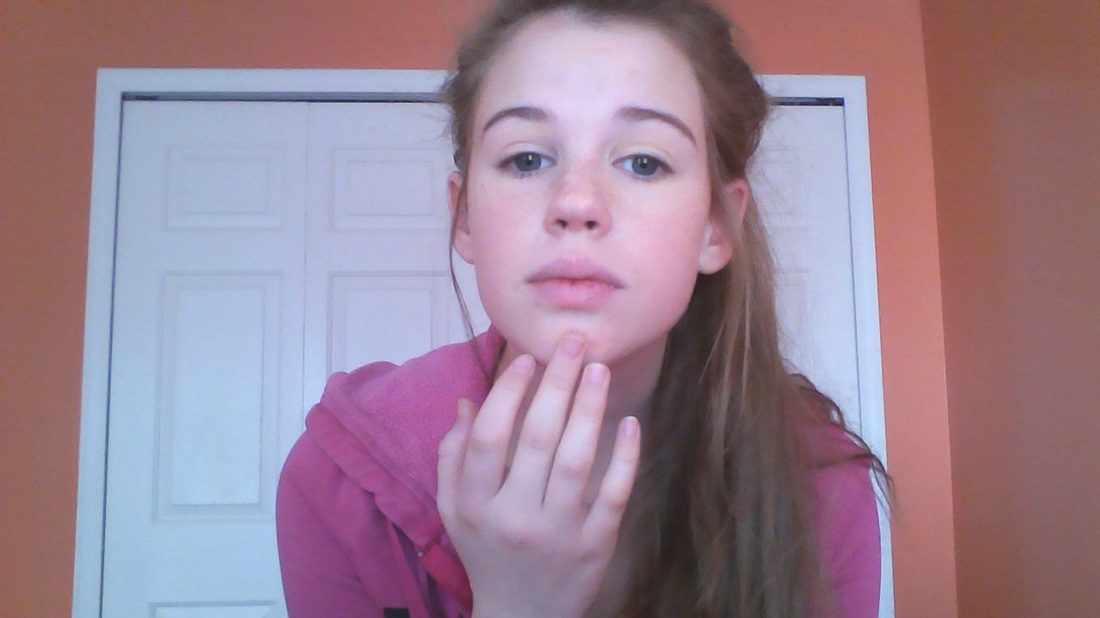
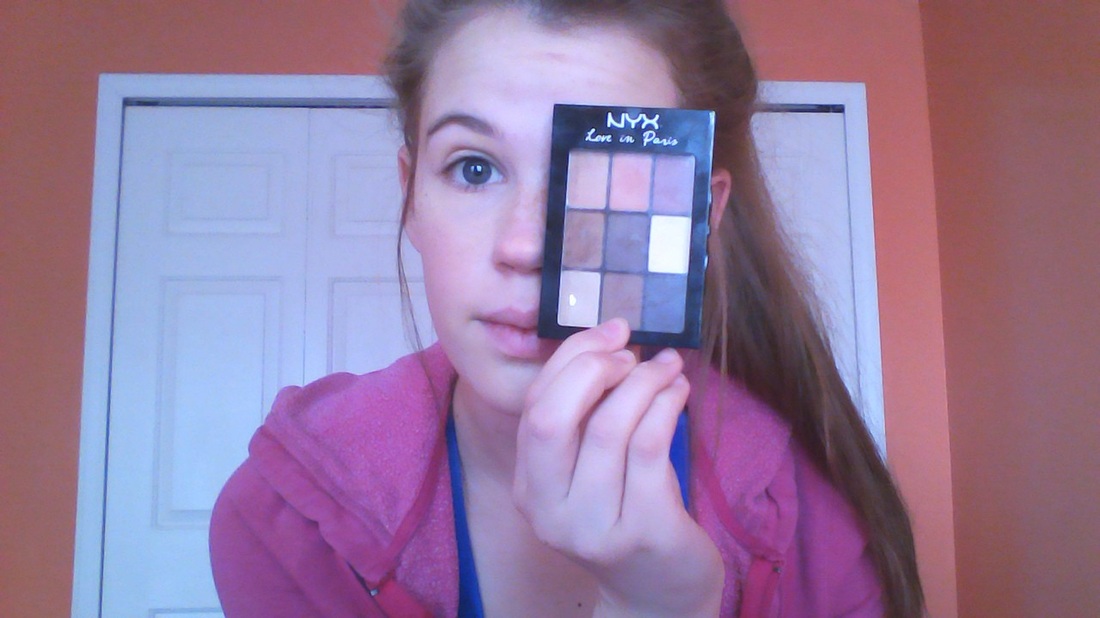
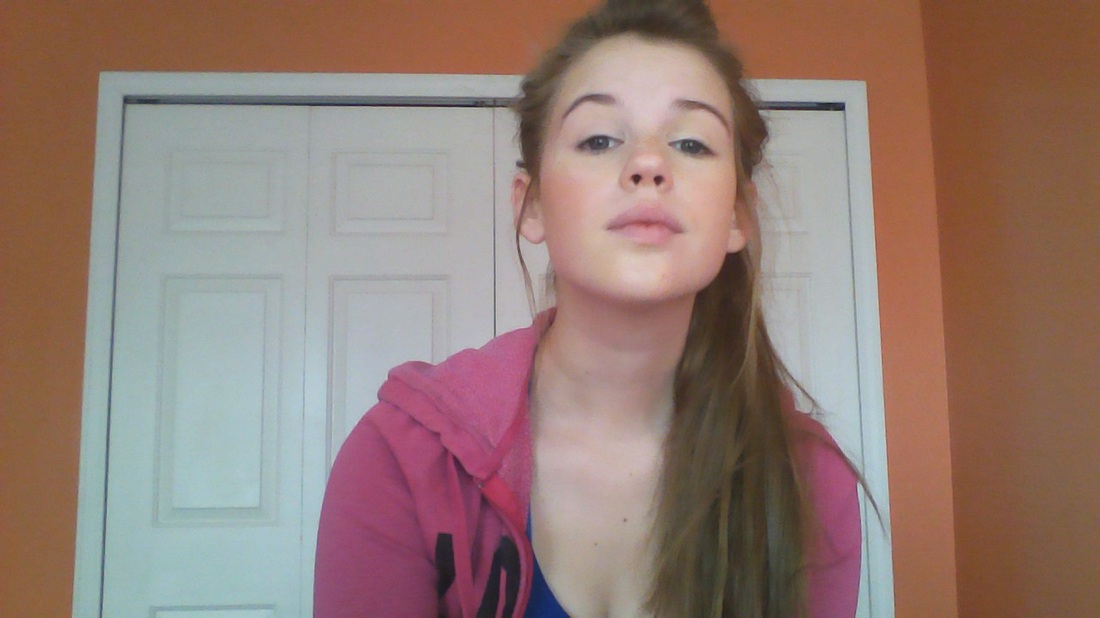
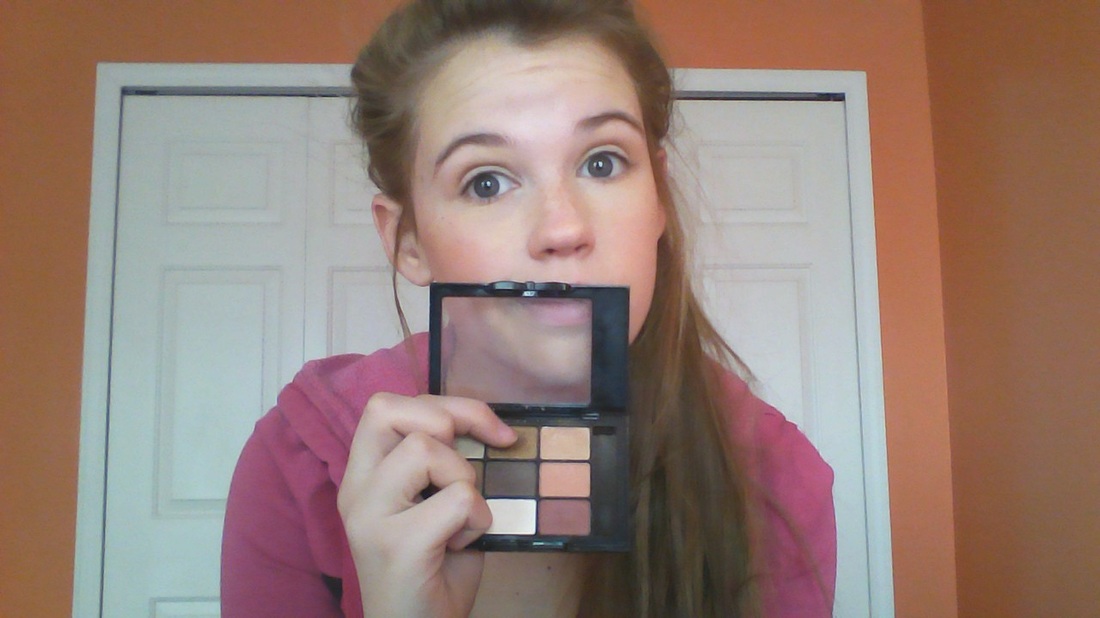
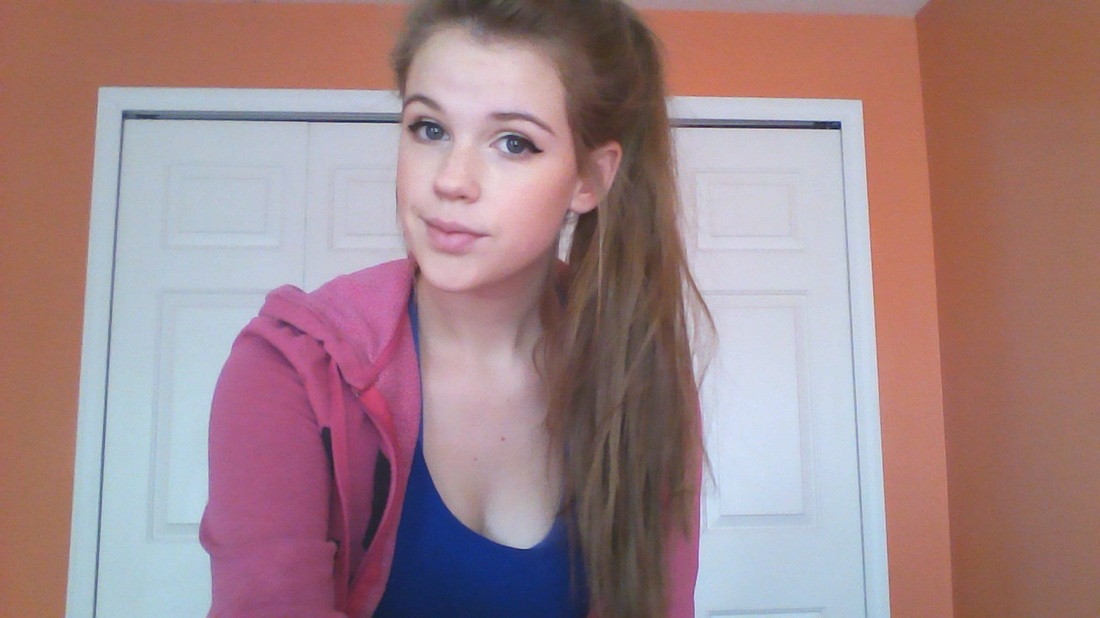
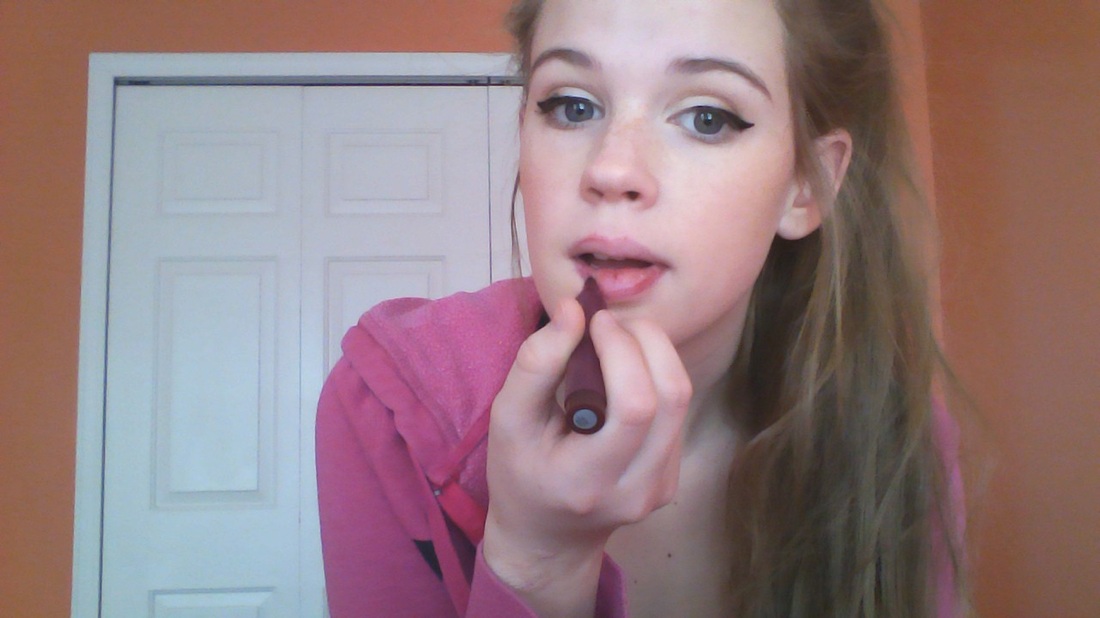
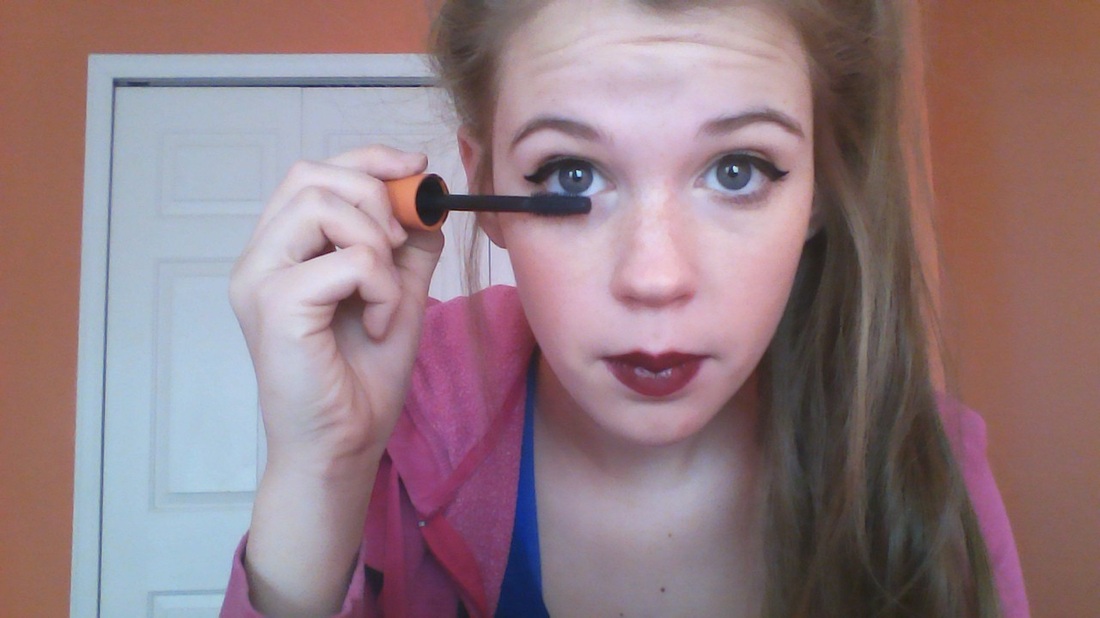
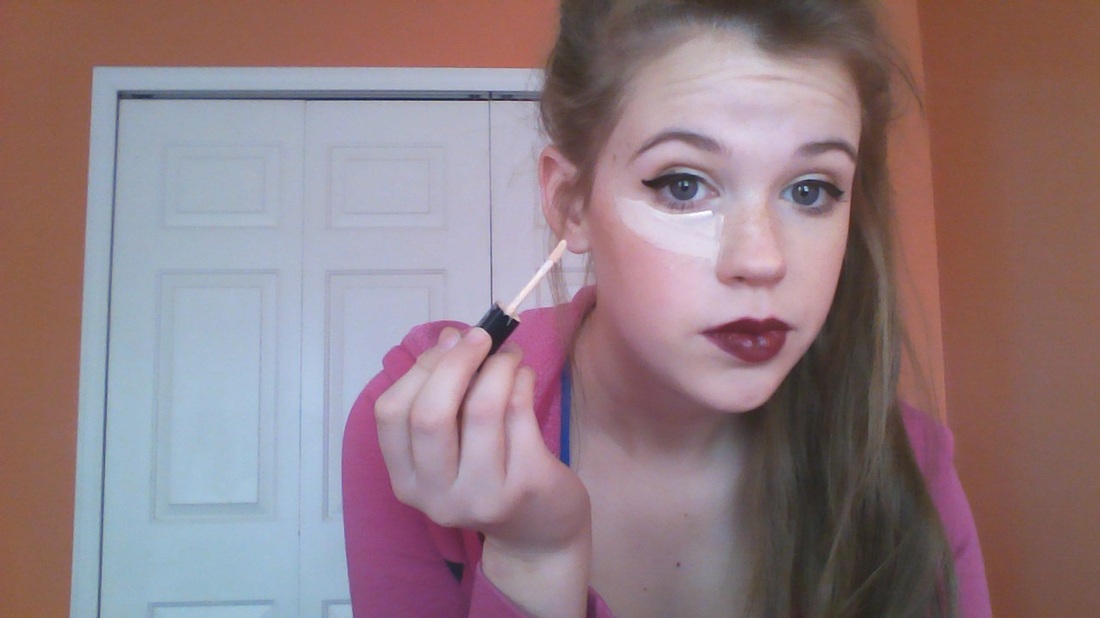
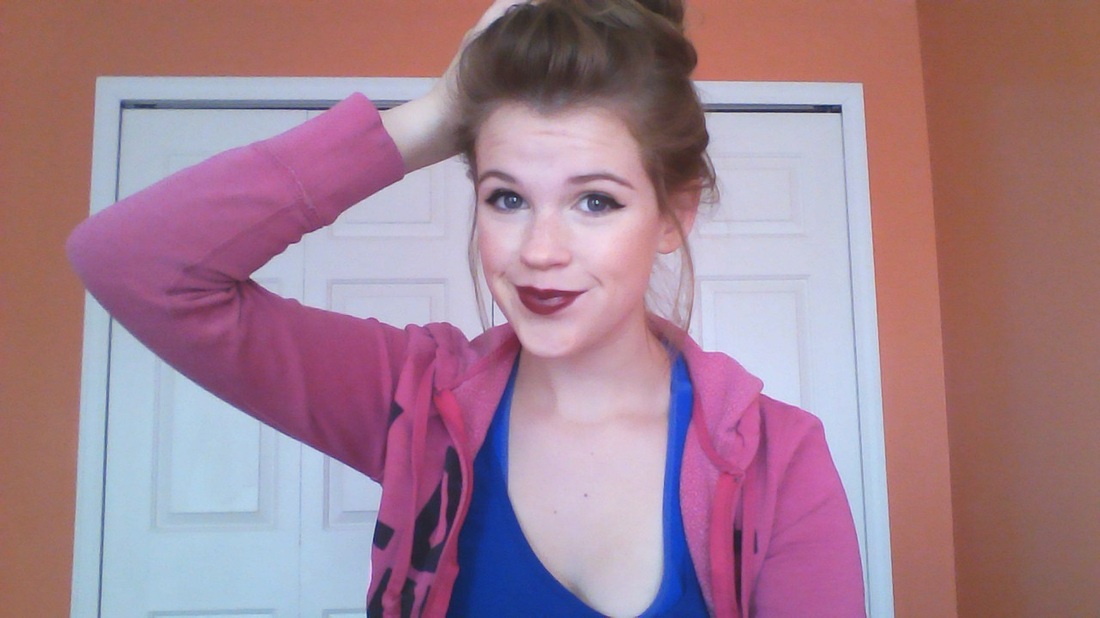
Hello friends! Welcome, welcome. If you're new: Nice to meet you and thanks for visiting today! If you've been here before: Welcome back! Thanks for coming back! All of you visitors mean a lot to me here at Grins & Needles. If you've been here a while, you might have seen a post about my favorite bloggers and vloggers where you might have seen Zoella mentioned. I adore her! So today I thought, why not go ahead and post a Get The Look segment piece already like I promised a while ago? I mean, really. I have made a vlog about this but then made it private because I don't feel as comfortable making a vlog as I do typing a blog post. So here it is (finally):Begin with clean hands and a clean face. Apply BB cream (mine is Covergirl CG Smoothers) generously to your face. This gives your face moisture and hydration for all the makeup you might be applying for the day. It's also a MUST for when you are being exposed to the sun because it's packed with SPF. Next I am applying my E.l.f. eye primer to the entire area between my brow and lash line because eye shadow will eventually be applied all over. Also, I applied this same primer to underneath my eye because it'll help hold the foundation and concealer there too later. Plus we'll also apply a bit of shadow underneath your eye too. That all happens later, so just focus on applying the primer around your eye where you desire it. I am next applying some E.l.f. concealer by dabbing it onto any acne or acne scars (easily stated: blemishes). I like this concealer because it feels like matte lipstick. It's spreadable but it stays really well. This concealer's a bit too dark for me, but that's okay because I'm applying Maybelline Fit Me Foundation on top of that concealer, dabbing it over the concealer-fied areas and rubbing it everywhere else. Next I am using this solid tan color of eye shadow (from my FAVORITE pallet, NYX Love in Paris) to contour my cheeks. To me, this color is better than any bronzer I've used to contour. I don't contour a lot (only for special occasions) but this has worked the best. I wore it on my face for my homecoming dance (tutorial coming soon)! After that, I apply the pink shade (on the top row, in the center) barely above the contoured cheeks to give sort of a subtle blush. Since we're going to be applying a berry lip later, subtle blush is all we need. Next, I am applying the white and cream from that same NYX pallet. The white is applied to my lids and the cream goes all over the area between my crease and my brow. I then use that same tan color I used to contour and applied it into my crease (results of this step are shown in the next photo). Now I am taking the glittery, more gold-colored version of that tan (I am pointing to the glittery kind; the solid one is covered by my ring finger in the picture) and I am placing some to the outer corner of my lid. After that, I am taking the darkest brown color (located in the very center of the pallet) and barely adding them to the gold color I put in the corners to make that gold appear darker. Also apply the dark brown to your lower lash line. I do this because 1.) I can't stand wearing actual eye liner on my lower lash line, and 2.) It looks more subtle. Zoella looks classic, not cakey with too much makeup. Before applying eye liner, feel free to curl your lashes (optional , but her lashes are always standing out). Next, draw out long, winged liner. I used Elf liquid liner. Her eyes are hooded, so she draws them out widely and not high onto her lid. If you have non-hooded eyes like me, you have to find a happy medium to make it look appropriate. P.S. See the dark brown under my eyes? That's how the shadow looks underneath. You might look tired, but the concealer we're about to put on will clean it up. Whilst we wait for the liner to dry, let's prep the lips. I am actually using E.l.f.'s berry lip stain as lip liner because it feels like using a marker. It's felt tip makes it easy to draw the perfect lines. Then I am applying the Perfect Plum lipstick from Maybelline New York. As a plus, I find that this lipstick is really hydrating. Honestly! And it stays so long. I also wore this to homecoming. My lips are a tad cracked on the bottom (as you might see), so wearing this lipstick won't only hide it but help to heal it! We're still waiting for the liquid liner on top to dry, so let's just start with the bottom lashes. Zoella tends to wear a lot of mascara on her bottom lashes to make her eyes pop. That's another reason why I am wearing the dark brown underneath--to make them pop! By the way, do you like the lipstick? Cute, right? Zoella loves her plum lipsticks. So now the lips and eyes pop, even with her hooded eyes! They appear much bigger and brighter. AsoI am using my E.l.f. under eye concealer and drawing sort of a triangle. When blending this in, I draw it close to my lashes, down my cheek, and over my contour job. It works as a highlight and draws attention to your eyes, even when you're wearing festive plum lipstick. Also, now that the liner is dry, let's apply mascara to the top. Then BAM! The makeup is done! If you want, spray setting mist to se your makeup. As for the hair, check out her messy bun hair tutorial to get that perfect bun. Then you've mastered it! Thanks so very much for reading. If you love Zoella as much as I do, comment below your favorite video from her! Also, feel free to request a look from a celebrity or popular vlogger/blogger you'd want me to recreate. Thanks again for checking in! For all the latest updates, subscribe to G&N and I'll send an E-mail with all the latest post information. Also, we'd love to hear from you! Take the survey and let us know what you think about our blog and what you want to see more of! Follow me on twitter @GrinsAndNeedles today! Thanks again for reading, and have a marvelous day.
1 Comment
Katie
7/3/2016 01:42:27 am
I do not look anything like zoella
Reply
Leave a Reply. |
