Grins & Needles
  • Blog
  • Topics
    • Fashion
    • Beauty
    • Hobbies
    • Life
    • Miscellaneous
  • About
  • Portfolio
  • Store
  • Order

Glittery Cat Eye Tutorial

12/29/2021

1 Comment

 
Hey there! Before we begin, please consider checking out the following resources:

​- Support various crucial BLM funding options here.
​- Visit the official Asian American and Pacific Islander philanthropy site here.
​

Hello friends!
2021 was a lot. I didn't blog as often as I wanted, but I did write a lot of things that I enjoyed writing.
​

   I talked about new hobbies, I interviewed neat people, and I opened up about important subjects to me, like my gender identity and different ways I practice self love.

   I do also want to thank you all for an amazing year. Besides my blog posts, you all have been super supportive this year with my graphic design. I've posted a lot more collages and digital portraits on my socials; and your feedback and shares have meant the world. Thank you.

To celebrate the end of 2021, I wanted to make a quick tutorial on a festive NYE kind of look.    I've never attempted to play with loose glitter at this degree of precision, but I think I managed to make it work. So come along with me, as I show you how I created a holographic glitter cat eye.
Picture


​   I started with my base. I used a primer from Glossier and covered some of my spots with a covergirl foundation. I also filled in my brows using a brown eyeshadow (it works the same as a brow powder) from the Morphe 35K palette.


   Disclaimer: Like I said in previous blog posts, I'm trying to opt for some vegan and/or cruelty-free cosmetic brands. I believe Morphe itself is cruelty-free, but its suppliers might not be. I did buy this palette a while back, so I'll still be using morphe products at least until I'm out on my end, as to not be wasteful. With that said, I will be using the 35K palette a lot for this look since it has a lot of neutral colors. Feel free to substitute this palette for something similar for your skin tone and aesthetic (i.e. if you want to go for a smokier version of this makeup look than I went for...I definitely kept it tame).
Picture
Picture


   ​After my base, I used a shimmery shadow from that same 35K palette as a highlight. Whenever I highlight my eyes, I dust the eyeshadow under my brow--along my brow bone--and in the inner corners of my eyes. I like to use a small brush for this to keep everything more neat, especially when I'm trailing under my eyebrow. I don't want those pesky, shimmery speckles in my brow hairs.
Picture
Picture
Picture


   ​Once I finished my eye highlights, I used a fluffier brush and applied a neutral pinky shadow to my entire lid, crease, and just under the highlight I did under my brow bone earlier. I use this to almost buffer out that highlight job so it's not such a stark patch of SHINE. We still need that blend, friends.
Picture
Picture
Picture


   ​I then dipped into a gray shade from that same 35K palette, and lightly dusted it on the outer edges of my lid and the outer sides of my crease.
Picture


​   To contrast this, I also blended a warmer tan shade to the inner half of my crease, forming a beautiful gradation from warm to cool shadows. I mimicked this same color pattern along my lower lash line, blending from that cognac color on the inside, outward to that charcoal shade.
Picture
Picture
Picture


   ​Next, I packed some NYX eye primer onto the back of my hand and used a thin, clean eyebrow brush to trace a cat eye shape along my upper lash line. This primer eventually settles and gets a tackiness to it, so I packed some on bit by bit before sticking my glitter to it.
Picture
Picture
Picture


   I used that same narrow brush that I used with my eye primer and I dipped into the loose holographic glitter from e.l.f. and gradually tapped it onto that tackier cat eye shape I created using the primer. I went slow with this process so I could be as precise in that shape I made with the glitter.
Picture
Picture
Picture


   I did end up getting a bit of fall-out under my eyes and had some excess glitter in my lashes, so I gently dusted the glitter off my cheeks and used a clean spoolie to comb the flecks out of my lashes. I then added more foundation, contour, and highlight to my face to make everything extra neat and fresh.
Picture


   ​To finish off the look, I applied some Covergirl Exhibitionist mascara and the matte "Little One" lipstick from Zoella's collection with ColourPop. And blammo! It's done-so.
Picture
Picture
Picture
Picture
Picture
Picture
   Thanks again for the support this year. I hope you enjoyed today's blog post! I have a lot of fun ideas in store for 2022.

Keep on grinning!

​Lydia
1 Comment
Sonny
1/10/2022 07:16:42 am

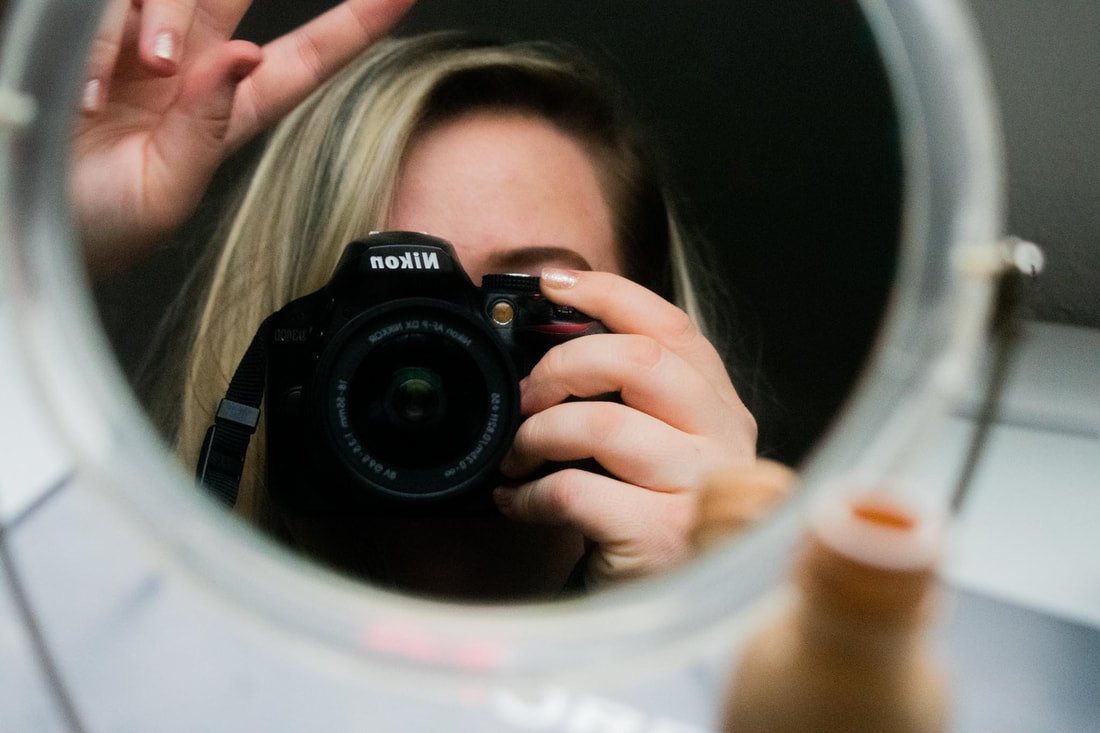
Love your camera work!!

Reply

Your comment will be posted after it is approved.


Leave a Reply.

    Picture

    Hello friends!

    I'm a 26-year old graphic designer and lifestyle blogger.
    ---
    I hope, by reading my work, you feel inspired to create and to love yourself.
    ​
    ​With love,
    Picture
    Picture
    Picture
Picture
Copyright © 2015 Grins & Needles
Font via Tup Wanders
  • Blog
  • Topics
    • Fashion
    • Beauty
    • Hobbies
    • Life
    • Miscellaneous
  • About
  • Portfolio
  • Store
  • Order